If your mockup “feels off” and you’ve already triple-checked type, spacing, and color, guess what’s guilty: mockup lighting. You can build the slickest layout on Earth and still tank the presentation with weird shadows and confused highlights. Clients won’t tell you “the contact shadow lacks ambient occlusion.” They’ll say, “Something’s wrong.” Translation: lighting broke the spell.
If you need a crash course on realism fundamentals before we sharpen the knives, skim our take on photorealistic mockups and come right back. I’m not re-teaching perspective to adults.
Why lighting decides whether your design looks expensive - or like homework
Lighting tells the brain what’s real. Angle, intensity, softness, temperature - all of it telegraphs material, scale, and mood faster than your headline can say “premium.” Blow the lighting for mockups, and your label looks like a sticker; nail it, and the same file looks like a product photo your client would happily pay for.
If you want solid starting points, don’t fight physics - start from assets that already have believable light. Browse Mockups to pick a foundation that matches your scene’s mood.
Five non-negotiables (print these, tape them to your monitor)
Look, the rules aren’t optional. They’re why your comps get approved instead of “circling back.” And yes, modern workflows blend AI speed with human corrections - if you need industry receipts, read Creative pros are leveraging Generative AI to do more and better work.
1) One scene, one sun
Pick a light direction in design and commit like a grown-up. Your key light establishes the strongest, crispest shadow. Any fill is weaker and softer - never contradictory. If the hero shadow leans 30° left, the background props don’t get to freelance.
Do this: Drop a temporary arrow layer showing the key direction. Every shadow, every highlight follows that vector. Delete the arrow at the end, not before.
2) Shadow length tells time
Long shadow? Low sun. Short shadow? Overhead. Your realistic shadow design should match the story. Cozy packaging? Think late afternoon - longer, warmer shadows. Sleek gadget? High, neutral sun - short and sharp. If your scene reads “golden hour” but the shadows are tiny nubs, the viewer’s brain throws a flag.
3) Contact shadows = gravity
That thin, darker halo where object meets surface is non-negotiable. Without it, your product floats like a liar. With it, it gains weight and authority. Start with a tight, soft contact shadow under edges, then add a broader, lighter area shadow for presence. This is realistic shadow placement, not charcoal smears.
4) Reflective ≠ radioactive
Glass, foil, and varnish love speculars, but highlights must be directional, not a blanket glow. If your entire label shines evenly, you lit the label, not the scene. Shape speculars to the light source, then temper them according to surface roughness. Congrats - you’ve discovered mockup illumination rules.
5) Temperature discipline
Warm key (3.2-4.5K) says “human, cozy.” Cool key (6-7K) says “clinical, modern.” Pick one and stick with it across the set. Rogue temperatures are why your white soap looks beige against a blue countertop. If the whites disagree, your scene is arguing with itself.

Quick triage: fixing bad mockup lighting (when the deadline is already rude)
- Unify direction. Rotate assets, nudge shadows, warp if you must. Every element obeys the same key angle.
- Normalize intensity. Match shadow density scene-wide. No lonely 90% opacity shadow under the hero while the rest are 20%.
- Contact first. Add contact shadows at every touch point, then area shadows. Gravity before drama.
- One temperature pass. Global curves or a single filter to wrangle warm/cool chaos.
- Kill the glow. Cap speculars. If the highlight reads brighter than anything in the world would reflect, pull it back.
Tiny visual shifts change performance more than your gut wants to admit - see Predictive Image Analytics vs. A/B Testing for why lighting tweaks can move the needle.
Cinematic lighting for mockups: three setups that don’t embarrass you
Use these photoreal lighting tips when you want mood without breaking realism.
A) Soft window key + cool fill (lifestyle sanity)
- Use for: skincare, stationery, home goods
- Setup: Large soft key from left or right; feathered cool fill opposite; subtle floor bounce
- Result: Airy, tactile, honest
- Watch: No double shadows. Fill stays softer and lighter than key. Always.
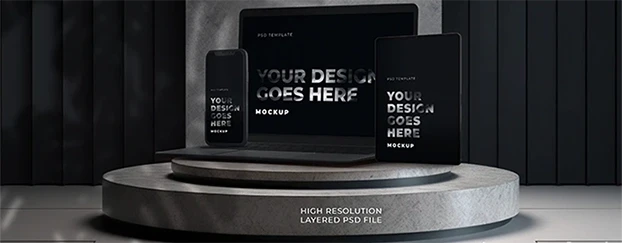
B) Hard noon key (tech bravado)
- Use for: phones, headphones, slick accessories
- Setup: Single overhead key; short crisp shadows; neutral temp
- Result: Sharp, modern, performance vibes
- Watch: Specular control. One wrong hotspot and your matte finish suddenly looks plastic.
C) Edge-lit drama (premium launch)
- Use for: limited editions, luxury packaging
- Setup: Two rim lights from behind; tiny front fill for label readability
- Result: Cinematic contrast with haloed edges
- Watch: Don’t rim-light the type into illegibility. If the logo dies, the shot dies.
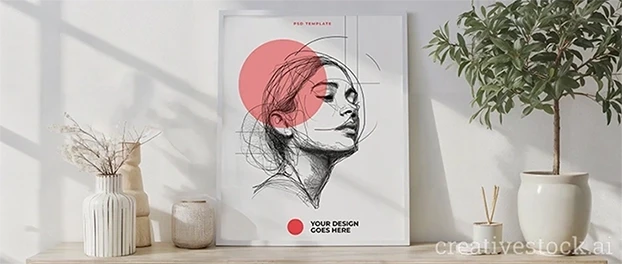
If you need a real-world base with believable side light and clean contact shadows, try this frame setup as your “lighting teacher”: Interior Frame Mockup - AI Couch, Table & Lush Plant.
Shadow math you won’t hate
You want rules of thumb? Here:
- Lower sun → longer shadow. Higher sun → shorter shadow.
- Bigger/closer source → softer edges. Smaller/farther → harder edges.
- Matte surfaces blur; glossy preserves edge.
- Bigger object ≠ blacker shadow, just denser. Opacity relates to light strength and bounce, not your feelings.
Working on packs? Study references and then test your scene against Packaging Mockups - your shadows will stop lying.
The workflow I trust when time is a bully
Here’s the repeatable path from mess to believable in minutes. It’s both mockup lighting techniques and a sanity checklist:
- Start with the right base. Choose an asset whose key light already matches your mood - stationery folks, begin with Office & Stationery Mockups to save yourself an hour of shadow surgery.
- Lock the vector. Add that temporary arrow for the key direction. Everything aligns to it.
- Material pass. Micro-contrast on edges, fibers, embossing, and glass rims. If a material doesn’t react to light, it isn’t in the scene.
- Shadow stack (in order). Contact → area → ambient occlusion. Don’t freestyle.
- Temperature unify. One global adjustment. Consistency beats heroics.
- Reality check. Flip canvas. Step back. Anything floating, glowing, or contradicting the vector goes back to step 3.
Common problem children (and how to make them behave)
- Curved bottles with paper labels
Warp the label’s highlight along curvature. Add a narrow, darker contact strip at the label edge. If it doesn’t “sit,” it’s fake. - White product on white set
Sneak in a cool-gray ambient shadow under the object. White needs separation. “Minimal” isn’t “invisible.” - Foil & spot UV
Speculars align with the light vector. Period. Paint streaky highlights along edges; taper them with roughness. No glitter explosions. - Translucent plastics
Let the background bleed slightly into inner shadows. If everything is opaque, you lost the plastic.

FAQ: Three questions that actually fix your work
Q1: My scene has soft window light but the product shadow is too sharp - how do I fix it fast?
Increase source size (or blur the shadow slightly) and drop overall shadow opacity. Add a subtle contact shadow so the object “locks” to the surface.
Q2: How do I keep lighting consistent across multiple assets?
Pick one key-light vector (e.g., 30-45° from the left). Rotate props, warp shadows - everything obeys that vector. One scene, one sun. No exceptions.
Q3: Why do my glossy labels look plastic instead of premium?
Your speculars are too broad and undirected. Paint highlights along the key-light direction and fade them with a roughness mask so only glossy areas pop.
Final Word
If you’re done guessing and ready to get first-pass approvals, stop wrestling lighting from scratch. Start with assets that already have believable light, then apply the discipline you just read. When you’re ready to scale this across clients without burning weekends, compare plans and licenses here: pricing.